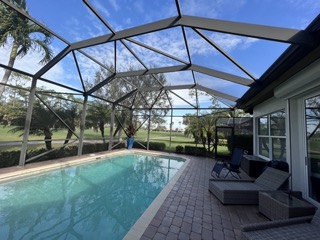
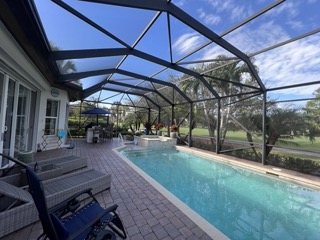
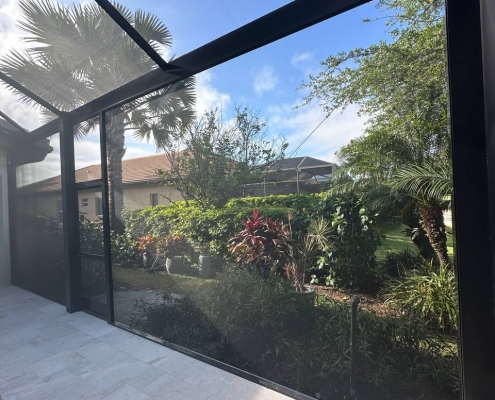
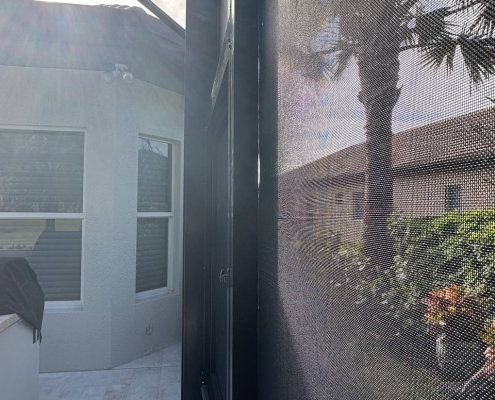
Before and after: pool cage with 3 picture view walls in Naples
Client’s request
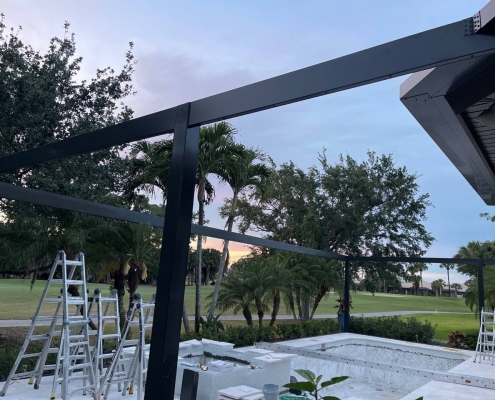
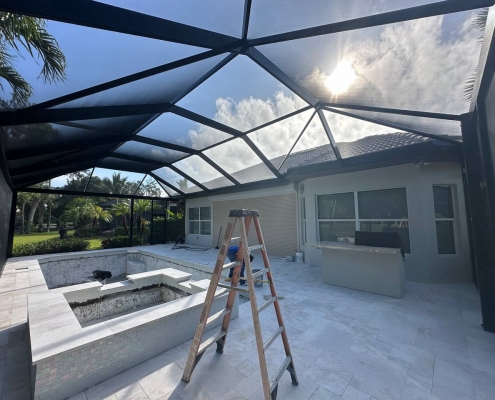
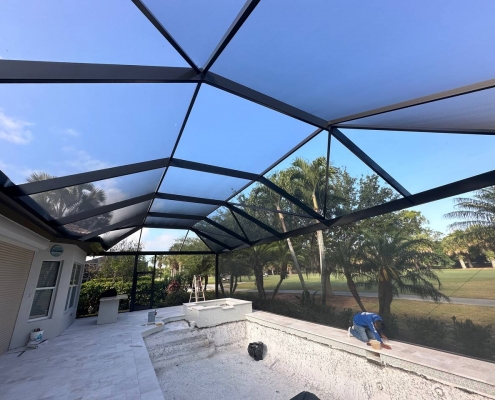
The goal was to create a cage with three picture view walls, including both side walls and the front wall, allowing for an uninterrupted panoramic view with as few vertical beams as possible. This presented some technical challenges.
At first, the client wasn’t sure if we could handle the job, so they asked to see photos of similar projects we had completed. After comparing offers from three companies, they chose us because of our strong reputation, excellent customer feedback, and proven track record.
Project challenges
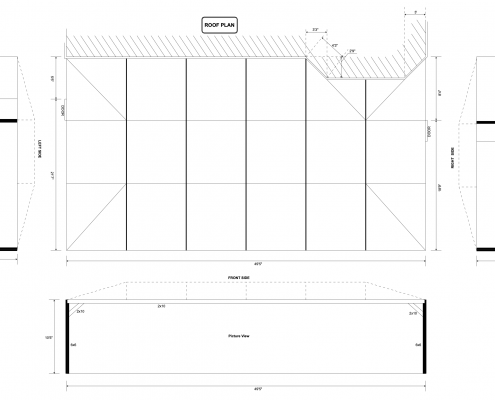
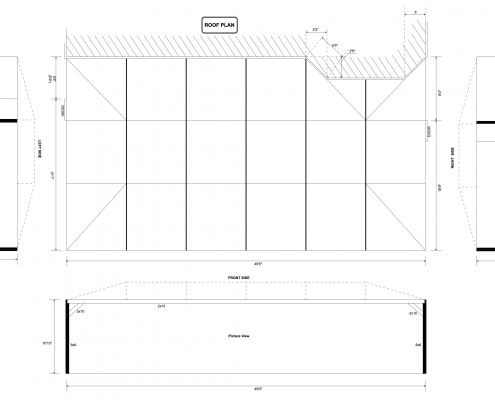
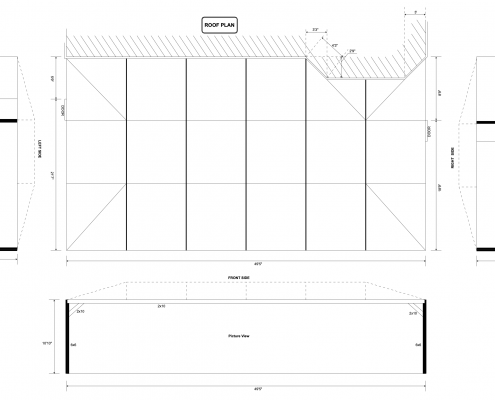
One of the biggest challenges was the non-standard length of the front wall, which was 49.5 feet compared to the typical 40 feet. This added extra stress to the structure, especially since the height of the walls was also above average—11 feet instead of the usual 8-9 feet.
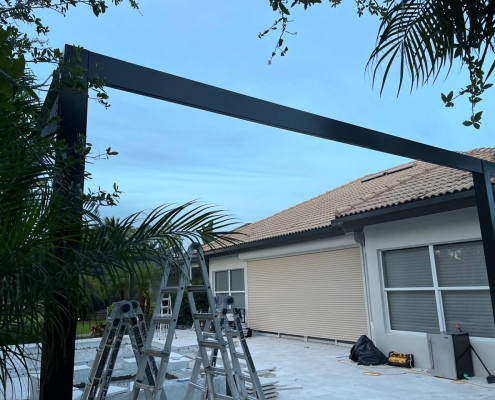
To prevent the beams from sagging, we reinforced the top horizontal beam during installation. We also used chemical anchors, which are essential for large structures like this to handle the weight and pressure. These anchors significantly strengthen the structure and are designed to withstand extreme conditions, making it nearly impossible to remove them without pulling up the concrete.
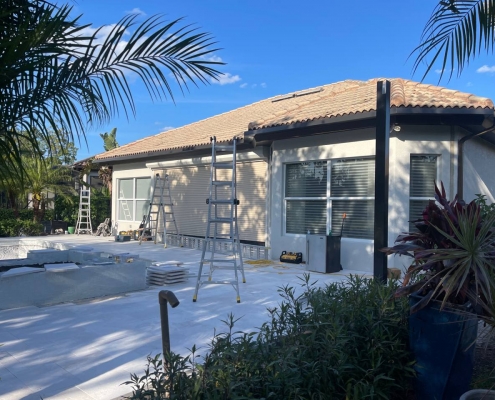
Photos before
Project Stages
- Initial consultation. We started with a phone call to discuss the client’s needs and offered solutions tailored to the project.
- Free on-site measurement. Our team visited the site to take accurate measurements and assess the area to ensure we could meet the client’s expectations and deliver high-quality results.
- Finalizing details. We worked closely with the client to finalize the details, including the type of screen, roof, and fasteners, ensuring that everything aligned with their vision.
- Blueprints and permits. We prepared detailed blueprints of the project and submitted them to obtain the necessary construction permits, ensuring all regulations were followed.
- Installation. After receiving the permits, our team began the installation, making sure the beams were properly reinforced and the structure was securely fastened.
- Client feedback. The client was highly satisfied with the speed and quality of our work, particularly appreciating the attention to detail throughout the process.
Drawings
Type of Mesh and Roof
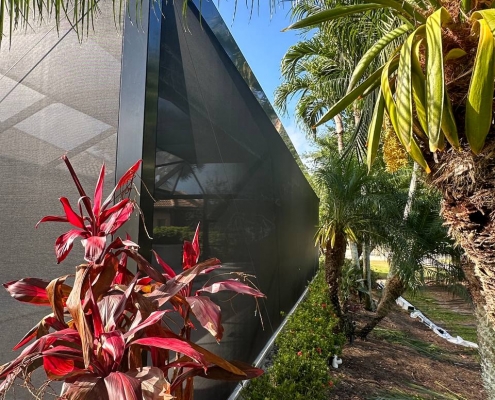
For this project, we went with a mansard roof, a popular choice because it creates a spacious, open feel. We used SuperScreen for the enclosure — one of the best options available. It has small mesh openings that keep insects and debris out while still allowing plenty of natural light to pass through.
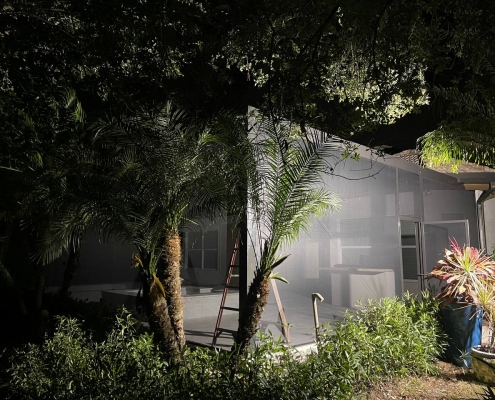
Photos in progress
Result
This Naples project was a great example of our ability to handle custom designs. We overcame the unique challenges and delivered a strong, durable pool cage with a stunning panoramic view. The client was thrilled with the result and particularly appreciated our attention to detail throughout the process.
Photos after

